Thursday, September 26, 2013

Defiance games Marines Review (part 2: Assembly)

Well, since 2014 is the year of the sci-fi, I am gearing up for those conventions with builds of the various figures I accumulated recently. In preparation for next year, many of my purchases this year were sci-fi. 

As I mentioned in an earlier post, defiance games was on my pre-x-mas list last year.  I started to assemble them this week, and there are some pros and cons to these guys. Let's start with the good:

These guys are about 32mm foot to top of head:


They went together easily. The legs were one piece and I glued them directly to a base (I used a washer as it was not as artificially tall as the standard 28mm base, will blend into the tabletop terrain better, and offers a bit of heft to the model.).  


Next came the torsos. They fit together quite smoothly.


I had a choice to make, which guns to include....most of my guys were riflemen, 


With a few heavies thrown in for good measure.


But as you can see, there is one drawback:


I have three leg sets, six different head selections, five gun choices, four left arms....but only TWO torsos! What the heck? That grouping makes no sense! I had "almost enough" to make one more marine per sprue x  11 sprues, so I could have had 11 more guys per box? I should have casted an extra 11 in resin. 

(I may still buy another box and do that. It seems a huge waste of extra parts, I am kicking myself for building all of the guys now!)


So here is a finished marine:


I did mix up the guns a bit, and used all "closed face" helmets. (What can I say, I like the uniform look.) There were other head choices: open helmets


Or no helmet at all:


The only kit included were backpacks, (only one per sprue, I'm using them for radios) ammo pouches, (two per sprue) 


and small pouches (three pouches per sprue, I mounted them on the men's arms).


Overall the fit was good, guys went together quickly using testor's glue (in the black, sloped bottle) and they look cool.

Now for the cons:

First there was a lot of flash on the arms, as you can see in these pics:


There were considerable mold lines, which depending on where they were located on arms and legs, difficult to remove...


After priming them with Armory white primer, they are ready to be painted, however, I have to come up with a camo scheme first.


Next up, painting in Part 3!


Friday, September 20, 2013

1/72 Soviet T-80 (Revell 03104) kit review


Here is another review of 1/72 scale (or if you will 20mm) kit I built for a buddy. The kit is molded in a light tan plastic. I built these while on a business trip to Atlanta.


I have 3 of these in my gaming collection, all built for scenarios in Chechnya. Nick needed 4 built and after 2, I discovered a trick that makes it easier.


The kit has multiple sub assemblies with the most difficult one being the tracks. While that assembly is typical of Revell Germany models, it is fiddly.  As you can see the individual track sections are a bit gappy, but since Nick bases his models, it shouldn't be an issue.


The tracks go together in six areas: bottom piece, diagonal pieces for lower front and back, individual links around the front and back wheels, and finally a long top piece. Maybe this picture will help...


After doing these enough it occurred to me that guessing the exact places to glue some of these pieces wasn't working! I tried gluing the seven other wheels in place, but NOT the drive wheel (the one with the sprockets at the rear of the assembly on each side) until I had lined up the rear diagonal piece onto the gears. That made things much easier.

Gluing the top hull and side skirts into position was very forgiving, as you can see, any mistakes on the upper part of the tracks are covered.


The turret had many smaller sub assemblies the worst of which was the snorkel tube at the rear.

One of the best things about this kit is the mantlet and the barrel assembly which was only 3 pieces, and the whole thing plugged right into the turret. Normally the barrel is a two piece job that has to be glued, and sanded and filled. (UGH!)    Not here.


Overall a fine kit, typical of the Revell AG quality.  Total time: 2.5 hours including drying time. 

Here are some pics of the same kit, finished for Chechnya:


Wednesday, September 11, 2013

Bunkers, Bunkers, Bunkers!!!

I had a dream, and this dream involved a trip to Fredericksburg, VA in July. Why, do you ask? There can only be one reason...HISTORICON! (cue dramatic music) And, as I have this crazy need to run a game at every convention I go to, (I am seeing a doctor, I promise) I went into crazy construction mode!

I had recently read a book called Blackhorse Riders by Philip Keith. Excellent read about a unit in a bad situation. I decided to use that as a basis for my scenario.


In the book, the assaulting force runs into a log bunker complex, so I needed some of those. I looked around for some economical ones and decided to create some after finding Gunbird's tutorial on Fields of Fire Reloaded (Online forum: http://fieldsoffireonline.freeforums.org/post16201.html#p16201).

The tutorial was excellent and I was able to create two examples, one large and one smaller. Since I am a caster of parts, I decided to create a mold of these two prototypes:


I live in Denver and am lucky enough to have a place called Reynolds Advanced Materials in town. They have amazing products and some of the most helpful employees I have encountered in the hobby business.

From this mold I was able to cast an additional 30 (and yes, it sucked to be the US player in this scenario with the bunkers two and three rows deep).


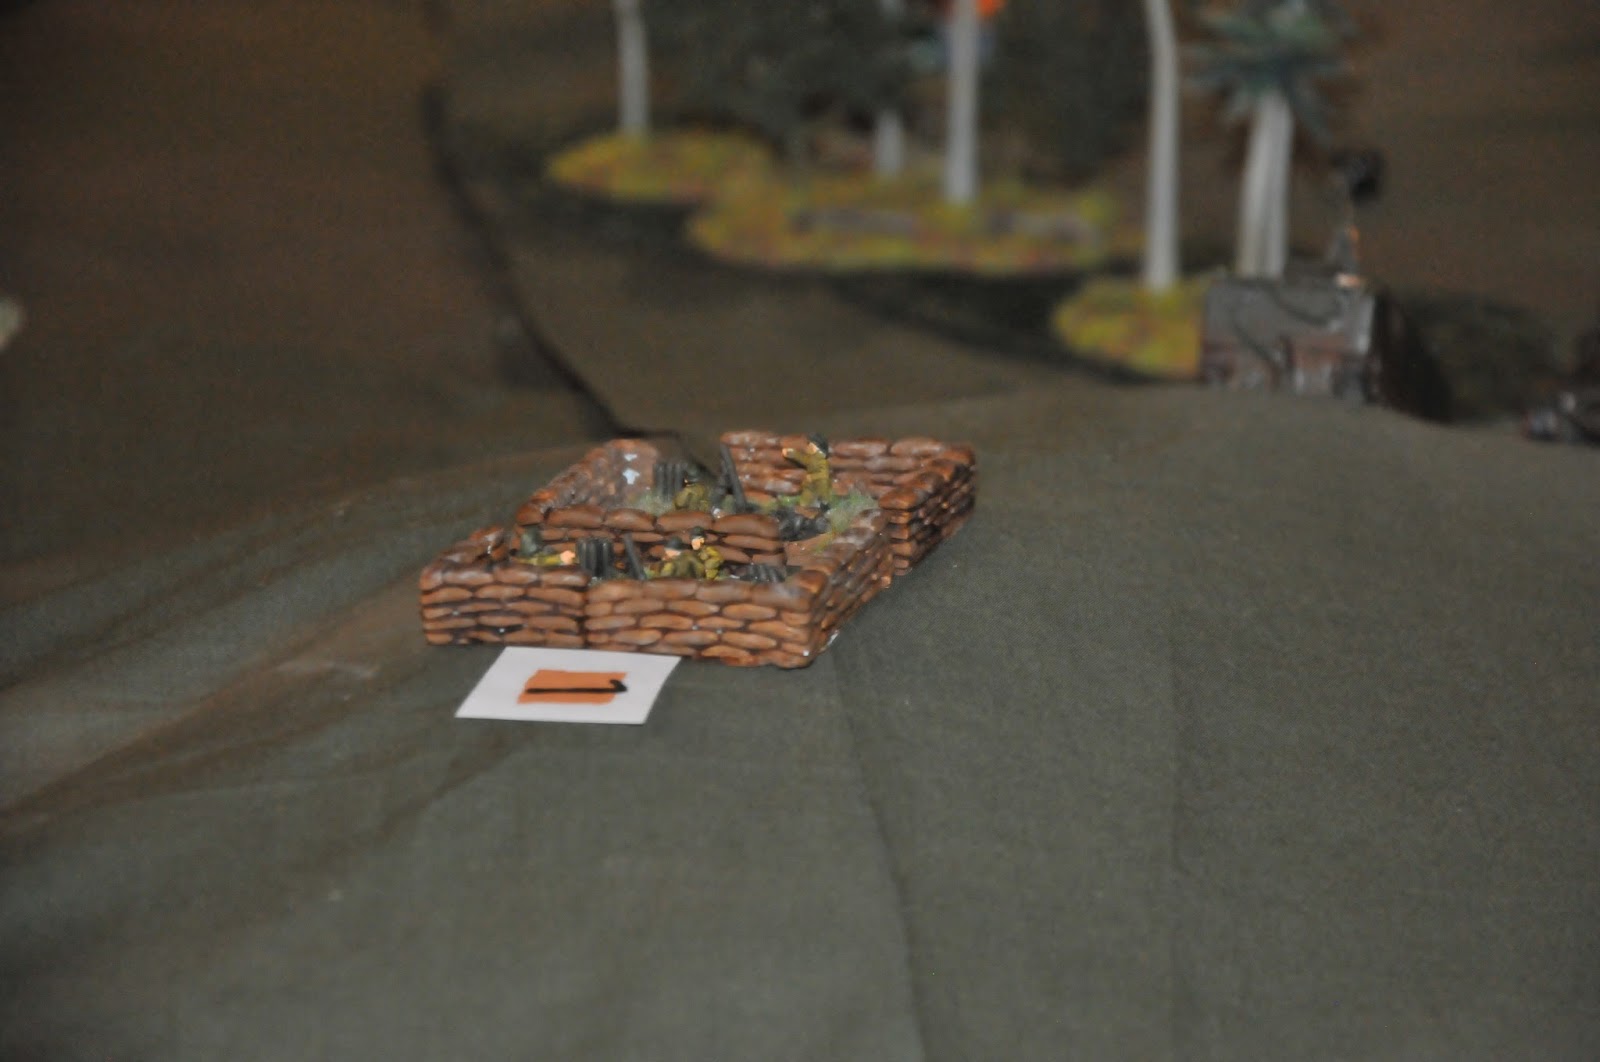
It was a matter of painting, texturing, and flocking the mass of resin bunkers you see above.


This is part of the ton of vehicles painted for the scenario


This is the NVA player's view (looking at the Charlie Company forces):


Overall a great scenario, frustrating for both sides. I've run this one now approximately six times and I get mixed results, some overwhelming NVA victories and some US routing the enemy, but always enjoyable.


Tuesday, September 10, 2013

1/72 Trumpeter Kit review


I recently  was asked to put together some Trumpeter kits for a friend. He does Force on Force in 20mm.  I thought a review would be appropriate.  These kits were a joy to assemble, and went together quickly.  The LAV kits given to me came in three varieties: LAV-25, LAV-AT, and LAV-C2 (command and control).


Many of the steps that you complete are similar, and many of the parts, in fact, are used in all three variations. Since these are wargame models and not kits for a diorama or other purpose, I decided to leave out a few parts. Of course, I didn't realize this until after I completed the AT kit as seen below.


There were these little fiddly bits (I think they were torsion bars) attached to the wheels that were incredibly difficult to keep glued in, so I recommend  leaving them off. My friend bases his vehicles on plasticard anyway, so they won't be seen.


This is the LAV-C2 model. All that is needed (besides a killer paint job) are a few antennas.


This LAV-25. The only part missing is the turret basket, which will be replaced by a Black Dog kit...(http://www.blackdog.cz/products/t72/t72001/1.jpg) 


Which allows my friend to make these vehicles look like they are on campaign.


LAV with the AT hammerhead


Rear view


As you can see the instructions are quite simple, with uncomplicated pictures (unlike the ace kits I've done) there just were not all that many detailed parts.  Overall the kits were of moderate to easy difficulty, and moderately decent detail.


Friday, September 6, 2013

Tacticon 2013 (Denver, CO, USA)


Tacticon 2013 in Denver, CO


(Note: All of my games used the Force on Force ruleset, published by Ambush Alley Games.


Game 1: Blackhorse Riders


The first game I ran was on Friday night. It was a scenario based on a Philip Keith book called Blackhorse Riders.  The story was based on events of March 26th, 1970, when a company of soldiers were isolated and surrounded in War Zone C, near the Cambodian border. Another unit (Alpha Troop) was the only friendly unit even remotely close enough to assist the beleaguered company. The battle lasted hours (from 3p until 11pm) and we had the table surrounded my 7ft tall pipe and drape on three sides to encourage darkness. (My intent was to cover the top with black cloth and use LED lights as flares (flares were used historically to help the units fight their way back to friendly lines).
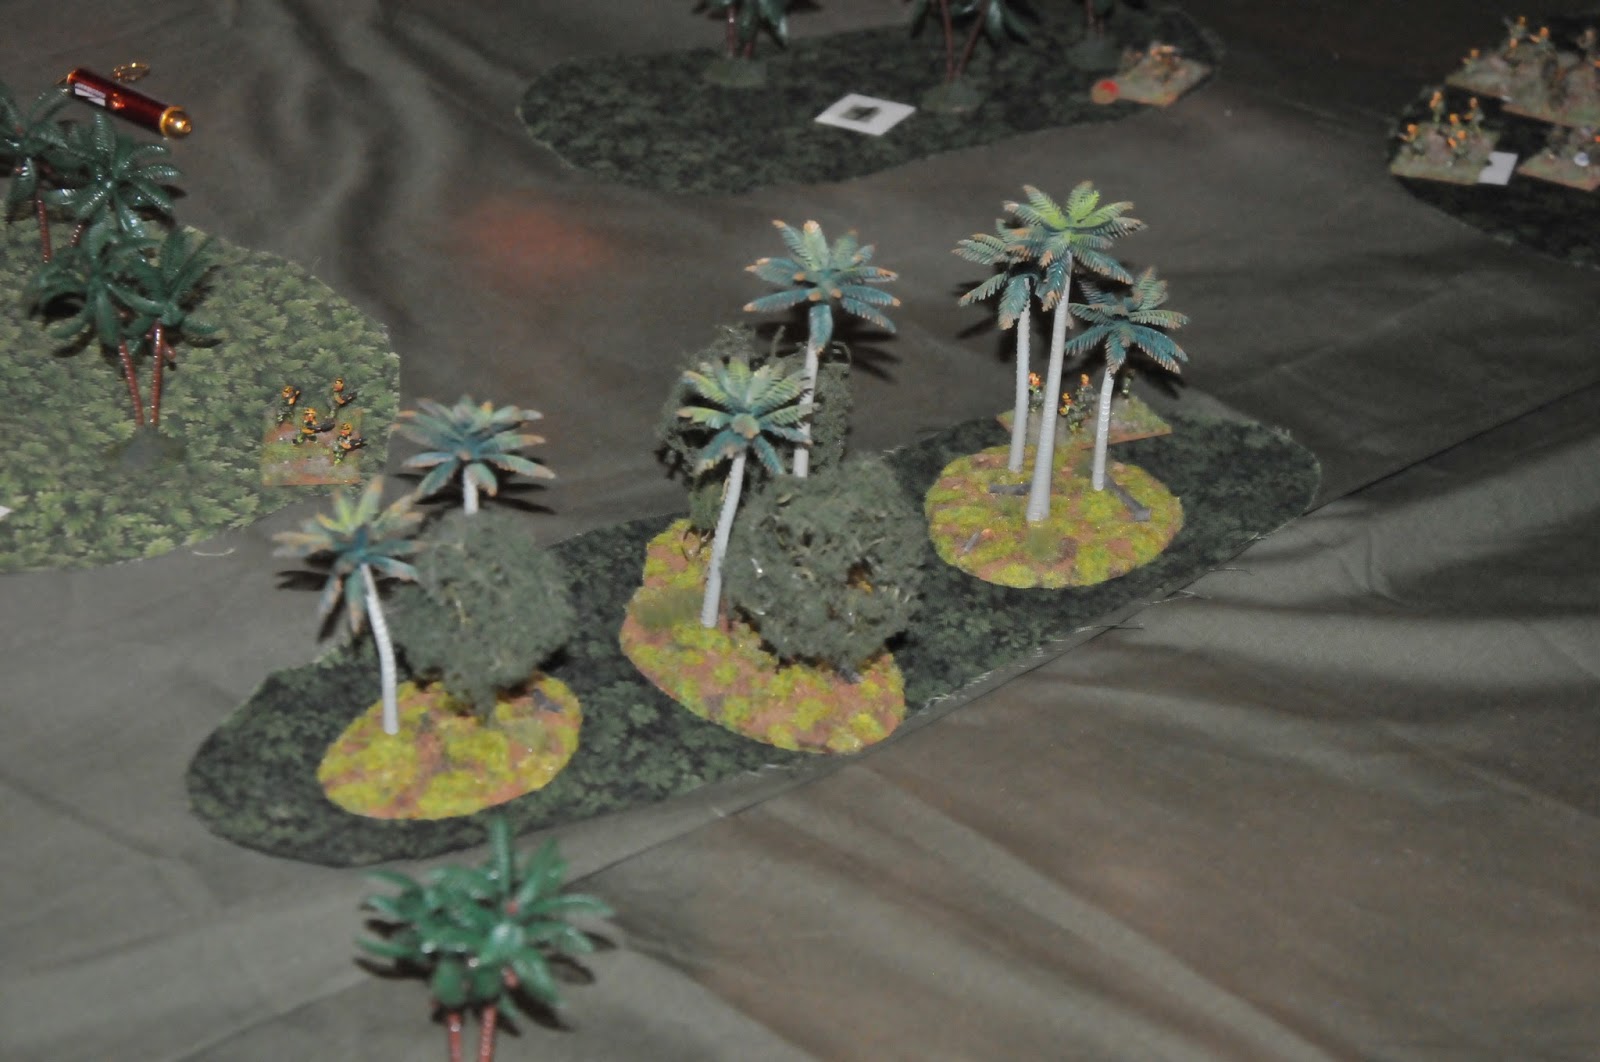
 There was a B-52 strike zone that the vehicles had to cross in the book. I was able to model this by using Pegasus Models craters that I found on Amazon.com and finished with Model Color paint, Citadel Sepia wash and their green flock. My friend Drew was nice enough to loan me his tree stands to use as jungle border.


 Unsuspecting Charlie Company as they recon their area...


The trap is sprung when the NVA player decides. (GM Note: Almost always the NVA player jumps the gun, but this is the soonest that anyone has done it.)  Note the two layers of bunkers, historically they were three or more deep.


The Charlie company player was very aggressive.  His name was Nathan, and he was a very savvy kid of 11 or 12.  He used his Sheridan tanks to destroy the bunkers, focusing on the ones with RPG stands. It didn't hurt that Nathan was rolling incredibly well!

Another bunker destroyed!

Charlie ended up fighting their way out, really not needing Alpha's (played by Nathan's dad Roger) help.


Game 2: ARVN in Trouble


In this game (played on Saturday morning) the ARVN stands were in trouble.  They had to hold on until relief forces of the 11th ACR rode in to rescue.

The NVA quickly hot spot jumped into the melee


ARVN not fairing well!


Here come the Cavalry, riding to the rescue!


They decided to close assault the NVA!


Tanks had to climb the hill in order to eliminate RPGs that were raining down on them.  The outcome was an NVA victory as the ARVN were wiped out to the last man.  Sad day for the ARVN Rangers.


Game 3: Knocking on Heaven's Door


 The NVA had set up a pair of mortars in Hill 223. They had been the ones harassing the 11th ACR in the last scenario!


The NVA sent reinforcements to protect them!

Third Marine Division was tasked to "take that hill" and they used their LVTP5s to do it.

T

Flanked by M48s, the Marines gave the NVA hell.


The NVA tried repeatedly to RPG or otherwise destroy the M48s.  The outcome was bad for the NVA.  The Marines rolled up the hill, killing all the way, and the NVA were unable to reinforce the team.  Marines eventually made it up to the mortars and rolled over the top; killing the NVA mortarmen!


I had a lot of fun this time running 3 games at this convention.  I am looking forward to the two conventions (Ghengis Con 2014 and Tacticon 2014) where I will focus on SCI-FI scenarios (with a riot game or two for good measure!)

Happy Wargaming!

M.